Over the past week, we’ve been busy building, testing and rolling out an update to our Yahoo integration to support OAuth2 for obtaining user consent and authenticating API requests. All of our customers are now using it, whether you know it or not.
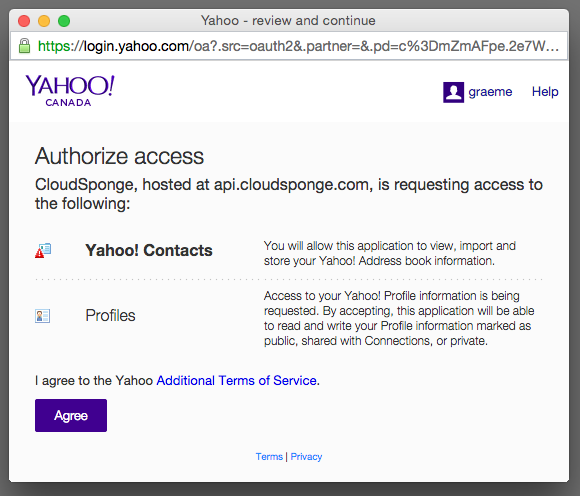
As part of the update, we’ve migrated away from using the Yahoo Mail Web Service for getting the address book owner’s contact information. The old way was a bit awkward and it was never obvious why we required this permission. Instead, we’re now using the Profiles API and the consent screen makes much more sense.
Any customers who are using the default branding for Yahoo can stop reading now. Your are using the OAuth2 integration and the newer Profiles API. Your work is finished. Well done.
We’ve already notified customers who are using a custom consumer credential for Yahoo. You folks probably want to make a change to your Yahoo developer account to simplify the permissions and fix the value of the owner_contact that our API returns. Read on to learn how.
Step-by-step: Update your Yahoo credential
- Sign into your Yahoo developer account.
Note: it is important that you use this URL and not the newer developer.yahoo.com site. All your applications are available on both, but it seems that they are read-only on the newer site. - Select your application from the list.
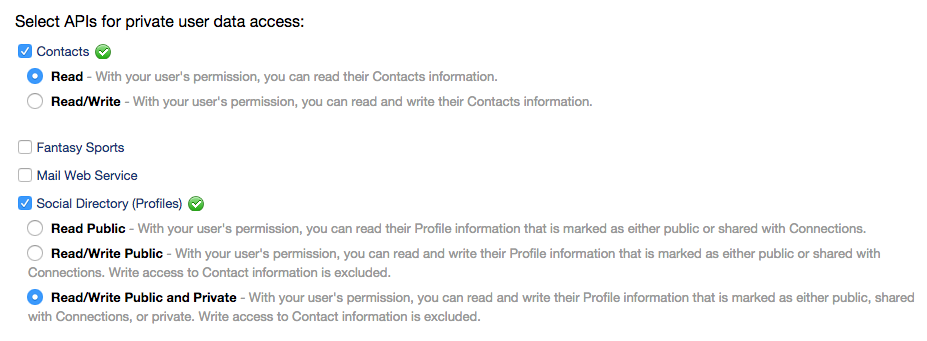
- In the Permissions section, unselect the Mail Web Service.
- Still in the Permissions section, select the Social Directory (Profiles) permission and click the Read/Write Public and Private permission level.
Your selected permissions should look like this:

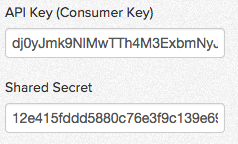
- Click Save and Change Consumer Key at the bottom of the page.
Yahoo will reload the page and give you a new Consumer Key and Consumer Secret.
Don’t worry about breaking anything right away; your old consumer
credentials will continue to work for until you update them in CloudSponge. - View your CloudSponge Consumer
Credentials. Find your Yahoo credential and click edit:

- Enter the updated values for Consumer Key and Consumer Secret and click Submit:

- Test an import to ensure that you see the new consent page.
- You are done!
Reach out to support@cloudsponge.com if you run into any hurdles. I’m happy to help.